
- Credits
- 0
Chapter 34- Is Paris Burning Again?
So, where are we? That looks like the Arc de Triomphe in front of us, so is it France? Perhaps Erica's time, too? The group heads into the main city to try and confirm this and find the Theatre Chattes Noies. Yup, this is France, circa 1920, but without a crapload of people (or cooked snails). Still, the main problem is how a twenty-first century cruise ship brought us ninety years back in time - the worlds are becoming intertwined and patched over, I guess.
Splitting up yields nothing, other than the idea that it's just a simulation. 'Course, we suddenly find Necron and Omicon, who raise a large wall, splitting up the parties, before summoning some more monsters. Selvaria is, of course, the head of this rather-robotic snake. After some pointless banter, yielding nothing other than that we already know, some more enemies appear, led by Ciseaux obviously. (Who doesn't appear 'till later.)
Anyways...
BATTLE!
Victory: Defeat all enemies
Defeat: Gemini & Erica or Ichiro & Sakura are defeated; 99 Turns are exceeded
Enemies:
Start: Selvaria Bles x1, Book of Judgment x3, Necron x1, Omicon x1, Emerald Dragoon x3, Sharukurusu (Green) x3, Sharukurusu (Red) x3, Blanche x10, Jaune x6
Turn 2: Additions - Aya-me x1, Prelude x1, Kouma Kagizume x4, Kouma Sandan x5, Kouma Ekisha x8, Blanche x5, Jaune x7, Orange II x8
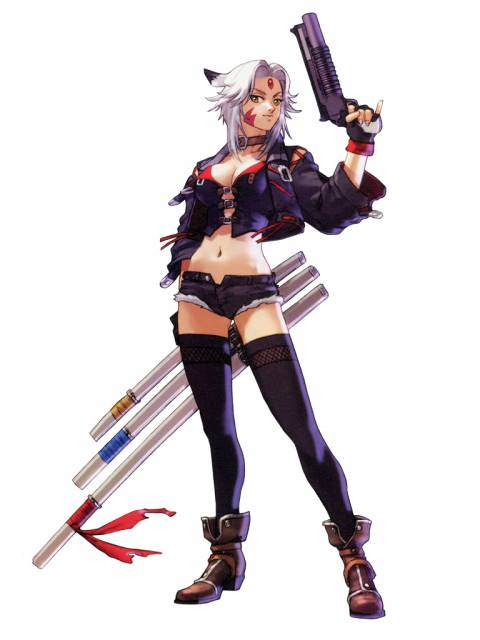
Allies: Mii & Kogoro, Chun-Li & Morrigan, Akira & Pai, Reiji & Xiaomu, Kite & BlackRose, Ryu & Ken, Haken & Kaguya, Jin & Xiaoyu, KOS-MOS & T-elos, Yuri & Estelle, Soma & Alisa, Dante & Demitri, Frank & Hsien-Ko, Ichiro & Sakura, Gemini & Erica, Kurt & Riela, Zephyr & Leanne, Toma & Cyrille, MegaMan X & Zero, Chris & Jill, Sänger (Solo), Arthur (Solo), Bahn (Solo), Batsu (Solo), Valkyrie (Solo), Imca (Solo), Vashyron (Solo), Neneko (Solo), Tron (Solo), Lady (Solo), Devilotte (Solo), Heihachi (Solo), Flynn (Solo), Lindow (Solo), Alisa (Solo), Rikiya (Solo), Bruno (Solo), Ulala (Solo), Saya (Solo), Juri (Solo)
ENEMY DATA
Name Max HP ATK DEF TEC SPD Move Range A / S / M-Atk. Ranges Item Drops
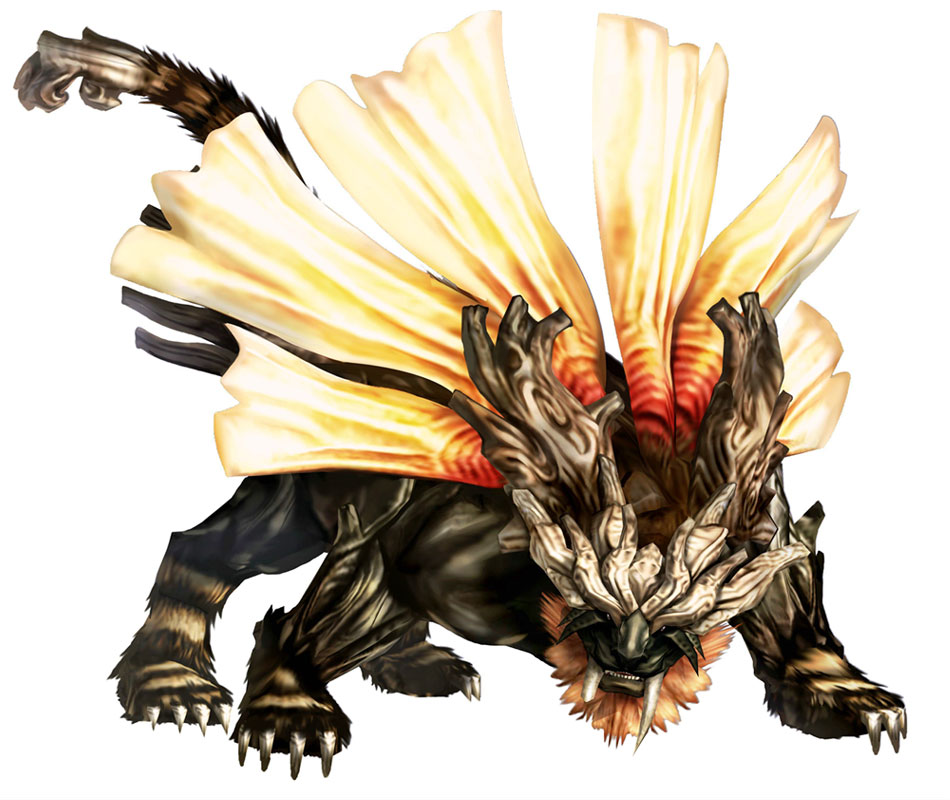
Aya-me (Lv. 47) 130,602 354 339 184 151 6 (flies) 3 / 3 / 5 Divine Implements
Blanche (Lv. 44) 19,877 347 353 136 139 5 1 / - / - Mochi Balls, Restore Pill
Blanche (Lv. 45) 20,153 351 358 137 140 5 1 / - / -
Book of Judgment (Lv. 44) 13,828 347 320 144 134 4 (flies) 1 / - / 3 Ether Pack S, Orange Gel
Book of Judgment (Lv. 45) 14,020 351 323 145 135 4 (flies) 1 / - / 3
Emerald Dragoon (Lv. 45) 19,277 351 375 130 132 5 (flies) 2 / - / 4 Ether Pack S
Jaune (Lv. 44) 19,013 347 363 144 139 5 2 / - / - Green Herb
Jaune (Lv. 45) 19,277 351 368 145 140 5 2 / - / -
Kouma Ekisha (Lv. 44) 20,742 357 337 136 134 5 (flies) 3 / - / - Restore Pill, First Aid
Kouma Kagizume (Lv. 44) 14,692 357 320 136 134 5 (flies) 1 / - / - Poison Bottle, Ether Pack S, Restore Pill
Kouma Sandan (Lv. 44) 18,149 357 320 136 134 5 (flies) 2 / - / 4 Poison Bottle, Restore Pill, Panacea Bottle
Necron (Lv. 46) 43,109 372 328 169 145 5 (flies) 3 / - / 3 Restore Pill II
Omicon (Lv. 46) 36,642 355 373 154 159 5 (flies) 3 / - / 3 Ether Pack M
Orange II (Lv. 45) 20,153 351 368 145 143 5 1 / - / 3 First Aid, Restore Pill
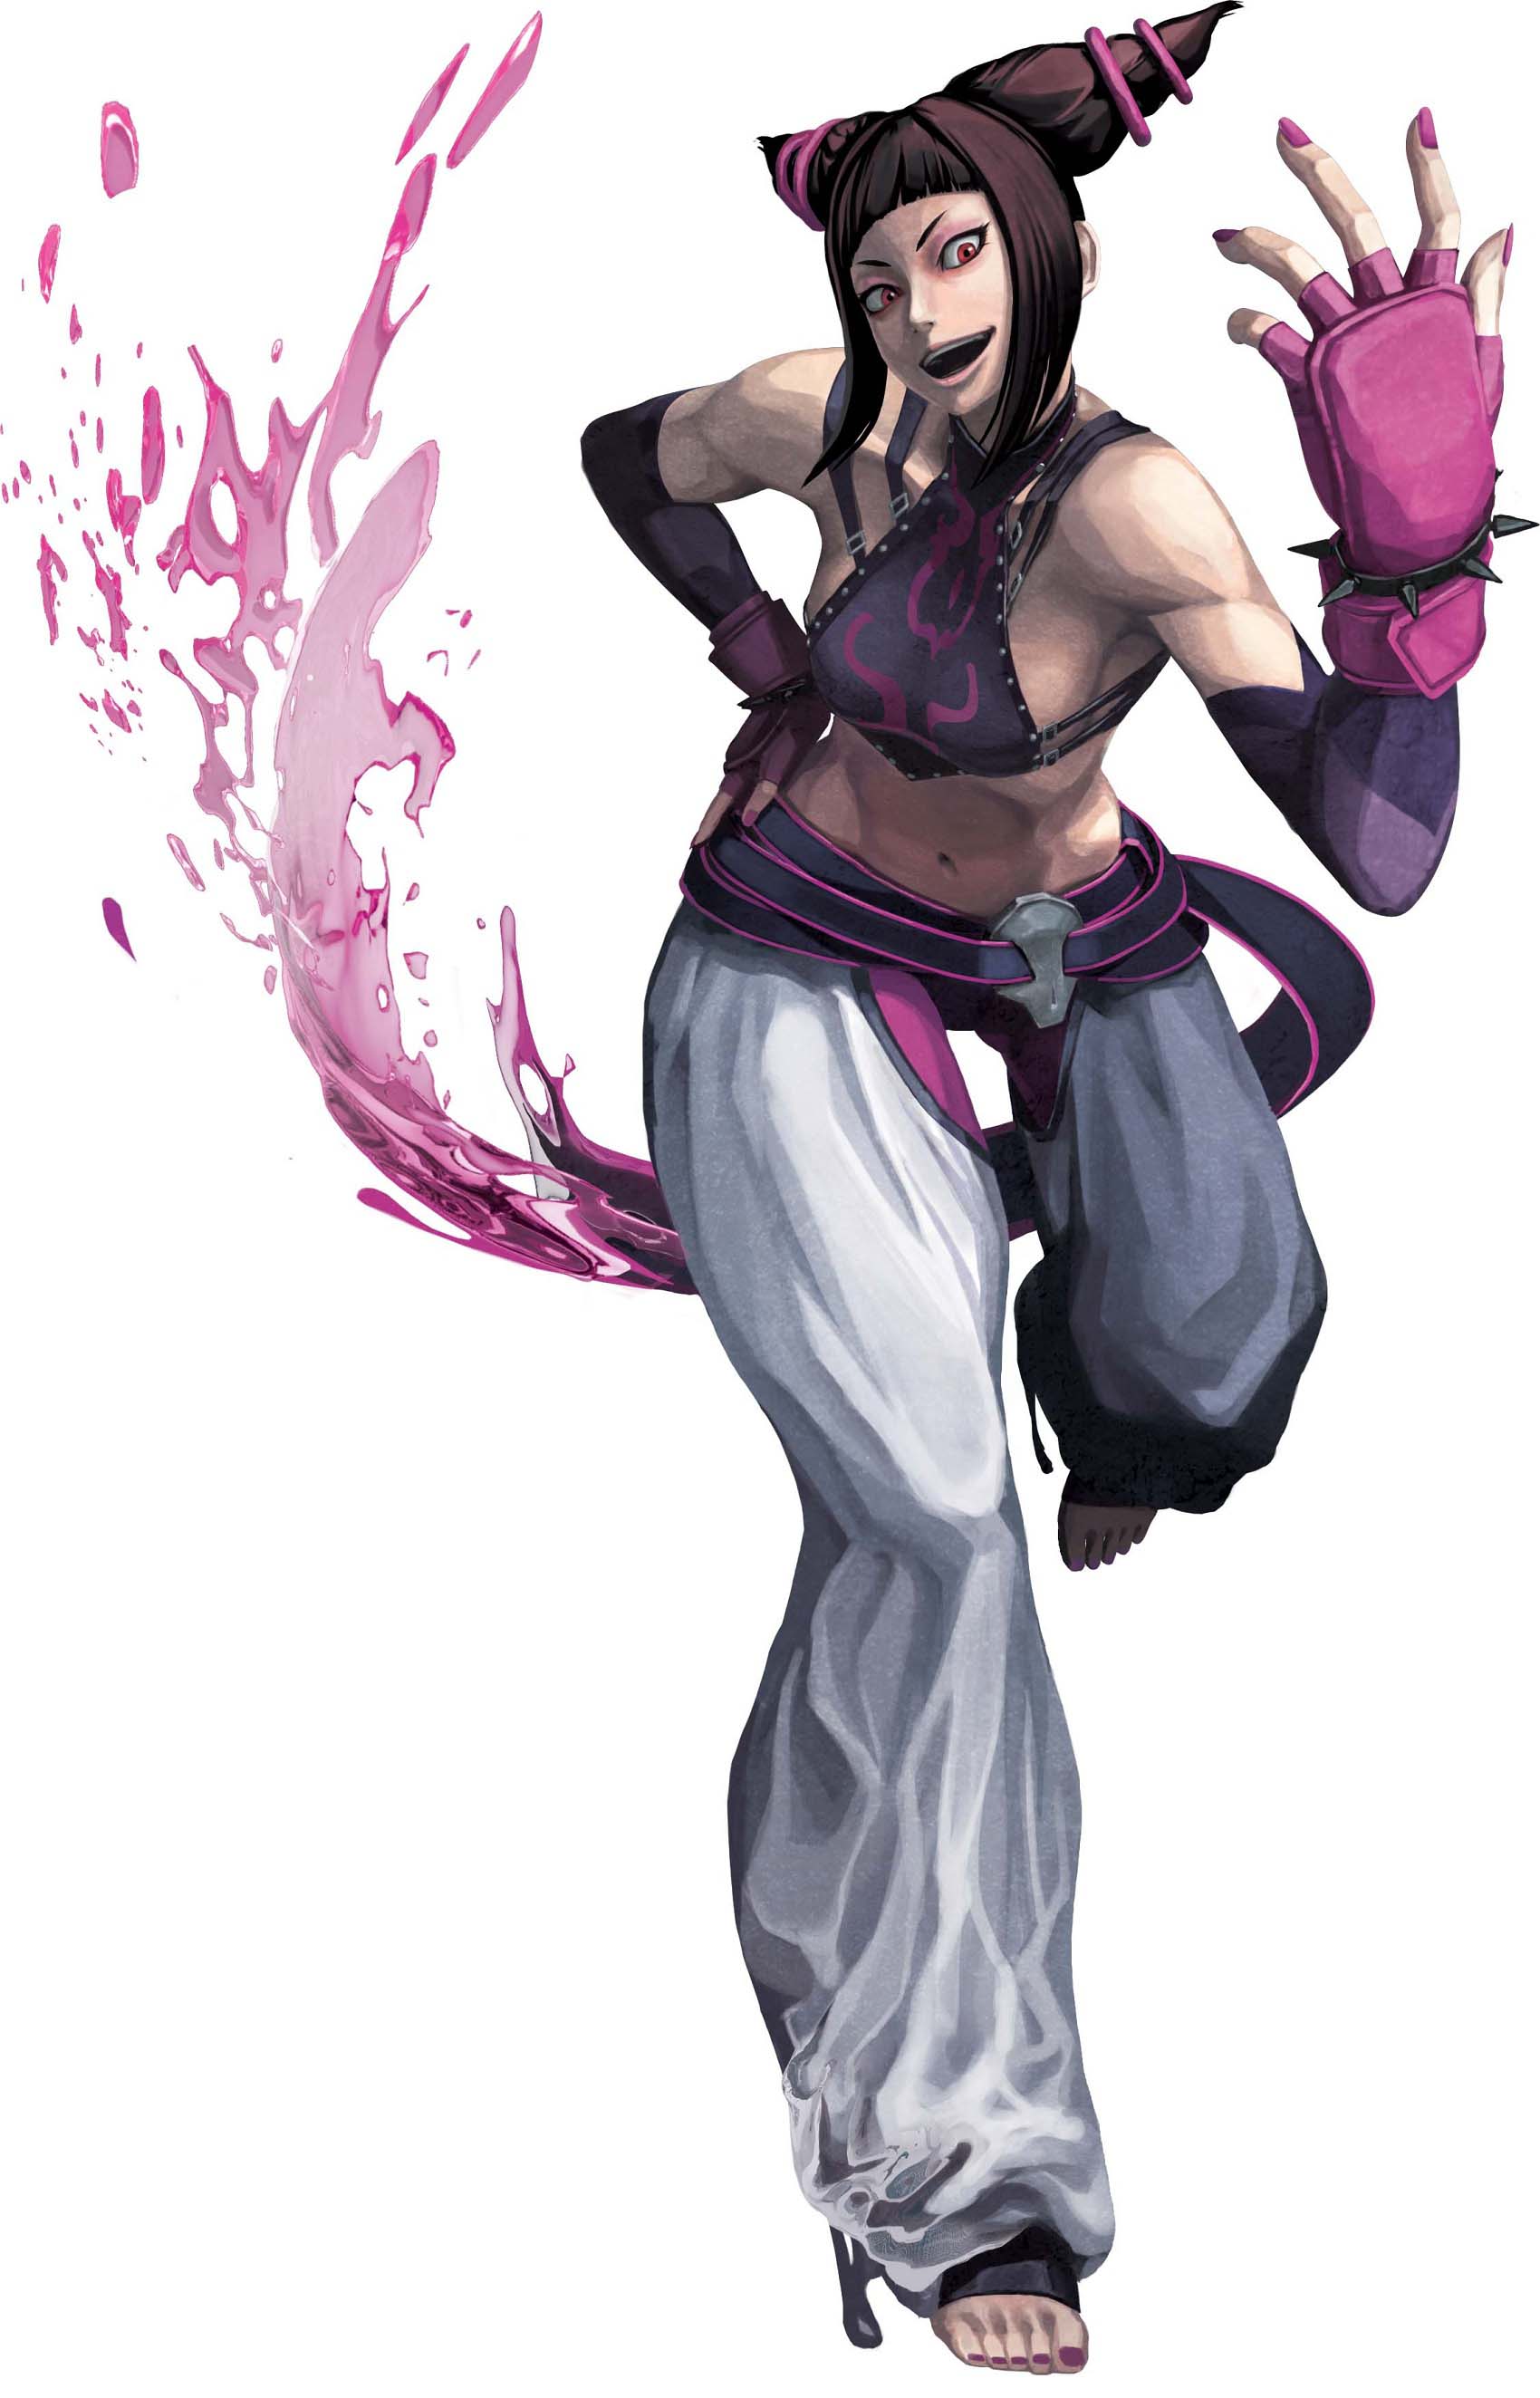
Prelude (Lv. 47) 124,383 362 367 163 139 6 2 / 4 / 4 Ciseaux' Scissors
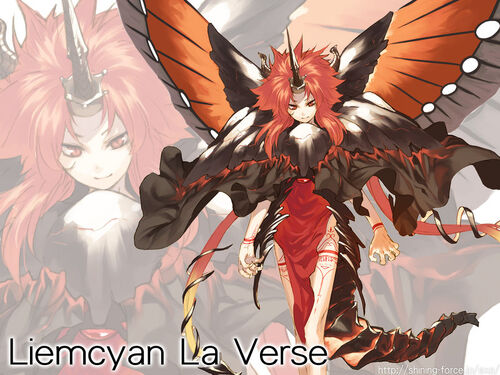
Selvaria Bles (Lv. 47) 124,383 372 360 176 154 6 2 / 3 / 4 Aegis Shield
Sharukurusu (Green) (Lv. 44) 17,285 347 337 158 142 5 1 / - / - Panacea Bottle
Sharukurusu (Red) (Lv. 45) 18,401 351 341 166 143 5 1 / - / - Restore Pill
Okay, your overall party has been divided by a wall, and the party, as a whole, consists of three groups. There is one near the west corner, on the south side of the wall, another near there on the north side of the wall, and another near the east corner, north of the wall. Each group has a bunch of enemies almost right in front of them.
Divide your groups into the usual pairs or trios of Pair Units and go around, blasting the enemies. The groups north of the wall facing the Blanches and Jaunes are the only ones for now that should be using the Multi-Attacks - there are more enemies per unit here than on the other side, and they're more compact, which makes them easier to hit. I wouldn't bother using items to charge up XP, but do try to restrict your XP usage to that.
On the second turn, the dividing wall will lower, and Ciseaux will arrive, late as ever and chanting patriotic rants for the U.S. XD Of course, he comes along with his own troops. He lets slip about the big merger to come, and Kogoro uses his detective skills to deduce that Aya-me will soon come. Which Alisa soon detects. Why is he right when it's bad for us...? Anyways, Aya-me comes along with some Kouma friends.
After some mindless banter, the battle resumes. Keep up the general strategy from before, but have your units disperse a little. In other words, let's recall those eastern two groups. Send all but a couple of units from them into the huge group further south, where they can spread out (in the usual pairs) to get rid of the new batch. Multi-Attacks should be flying around, albeit preferably without the use of XP items. Always keep Ichiro & Sakura and Gemini & Erica safe, too - it's all too easy to get cornered and surrounded in this fight in a fatal manner. Either keep them out of the fray in whole, or keep a watchful eye on their HP gauges and be ready to abuse the Quicksave function. (Which idiot's idea was that, again?)
Oh. Wow. We can tell this journey's coming to a close now that some of the villains are dying off, but not without sadness from some of us. Selvaria still makes an escape, though.
So, anyways, after the battle, KOS-MOS detects no more enemies nearby. Suddenly, Zephyr notes something floating in the sky. Something big - the Tower of Tarqaron, a locale from Terca Lumieres, although it was suppose to have lost power long ago. (Big surprise, huh?) The worlds are definitely merging together.
We have to get up there somehow. Back at the Arc de Triomphe, Ichiro begins to fiddle with something and turns it into a large catapult. So, basically, we get shot up to the Tower. Obviously, it's too risky to go as one big group, so they'll split into three teams yet again.
So, where are we? That looks like the Arc de Triomphe in front of us, so is it France? Perhaps Erica's time, too? The group heads into the main city to try and confirm this and find the Theatre Chattes Noies. Yup, this is France, circa 1920, but without a crapload of people (or cooked snails). Still, the main problem is how a twenty-first century cruise ship brought us ninety years back in time - the worlds are becoming intertwined and patched over, I guess.
Splitting up yields nothing, other than the idea that it's just a simulation. 'Course, we suddenly find Necron and Omicon, who raise a large wall, splitting up the parties, before summoning some more monsters. Selvaria is, of course, the head of this rather-robotic snake. After some pointless banter, yielding nothing other than that we already know, some more enemies appear, led by Ciseaux obviously. (Who doesn't appear 'till later.)
Anyways...
BATTLE!
Victory: Defeat all enemies
Defeat: Gemini & Erica or Ichiro & Sakura are defeated; 99 Turns are exceeded
Enemies:
Start: Selvaria Bles x1, Book of Judgment x3, Necron x1, Omicon x1, Emerald Dragoon x3, Sharukurusu (Green) x3, Sharukurusu (Red) x3, Blanche x10, Jaune x6
Turn 2: Additions - Aya-me x1, Prelude x1, Kouma Kagizume x4, Kouma Sandan x5, Kouma Ekisha x8, Blanche x5, Jaune x7, Orange II x8
Allies: Mii & Kogoro, Chun-Li & Morrigan, Akira & Pai, Reiji & Xiaomu, Kite & BlackRose, Ryu & Ken, Haken & Kaguya, Jin & Xiaoyu, KOS-MOS & T-elos, Yuri & Estelle, Soma & Alisa, Dante & Demitri, Frank & Hsien-Ko, Ichiro & Sakura, Gemini & Erica, Kurt & Riela, Zephyr & Leanne, Toma & Cyrille, MegaMan X & Zero, Chris & Jill, Sänger (Solo), Arthur (Solo), Bahn (Solo), Batsu (Solo), Valkyrie (Solo), Imca (Solo), Vashyron (Solo), Neneko (Solo), Tron (Solo), Lady (Solo), Devilotte (Solo), Heihachi (Solo), Flynn (Solo), Lindow (Solo), Alisa (Solo), Rikiya (Solo), Bruno (Solo), Ulala (Solo), Saya (Solo), Juri (Solo)
ENEMY DATA
Name Max HP ATK DEF TEC SPD Move Range A / S / M-Atk. Ranges Item Drops
Aya-me (Lv. 47) 130,602 354 339 184 151 6 (flies) 3 / 3 / 5 Divine Implements
Blanche (Lv. 44) 19,877 347 353 136 139 5 1 / - / - Mochi Balls, Restore Pill
Blanche (Lv. 45) 20,153 351 358 137 140 5 1 / - / -
Book of Judgment (Lv. 44) 13,828 347 320 144 134 4 (flies) 1 / - / 3 Ether Pack S, Orange Gel
Book of Judgment (Lv. 45) 14,020 351 323 145 135 4 (flies) 1 / - / 3
Emerald Dragoon (Lv. 45) 19,277 351 375 130 132 5 (flies) 2 / - / 4 Ether Pack S
Jaune (Lv. 44) 19,013 347 363 144 139 5 2 / - / - Green Herb
Jaune (Lv. 45) 19,277 351 368 145 140 5 2 / - / -
Kouma Ekisha (Lv. 44) 20,742 357 337 136 134 5 (flies) 3 / - / - Restore Pill, First Aid
Kouma Kagizume (Lv. 44) 14,692 357 320 136 134 5 (flies) 1 / - / - Poison Bottle, Ether Pack S, Restore Pill
Kouma Sandan (Lv. 44) 18,149 357 320 136 134 5 (flies) 2 / - / 4 Poison Bottle, Restore Pill, Panacea Bottle
Necron (Lv. 46) 43,109 372 328 169 145 5 (flies) 3 / - / 3 Restore Pill II
Omicon (Lv. 46) 36,642 355 373 154 159 5 (flies) 3 / - / 3 Ether Pack M
Orange II (Lv. 45) 20,153 351 368 145 143 5 1 / - / 3 First Aid, Restore Pill
Prelude (Lv. 47) 124,383 362 367 163 139 6 2 / 4 / 4 Ciseaux' Scissors
Selvaria Bles (Lv. 47) 124,383 372 360 176 154 6 2 / 3 / 4 Aegis Shield
Sharukurusu (Green) (Lv. 44) 17,285 347 337 158 142 5 1 / - / - Panacea Bottle
Sharukurusu (Red) (Lv. 45) 18,401 351 341 166 143 5 1 / - / - Restore Pill
Okay, your overall party has been divided by a wall, and the party, as a whole, consists of three groups. There is one near the west corner, on the south side of the wall, another near there on the north side of the wall, and another near the east corner, north of the wall. Each group has a bunch of enemies almost right in front of them.
Divide your groups into the usual pairs or trios of Pair Units and go around, blasting the enemies. The groups north of the wall facing the Blanches and Jaunes are the only ones for now that should be using the Multi-Attacks - there are more enemies per unit here than on the other side, and they're more compact, which makes them easier to hit. I wouldn't bother using items to charge up XP, but do try to restrict your XP usage to that.
On the second turn, the dividing wall will lower, and Ciseaux will arrive, late as ever and chanting patriotic rants for the U.S. XD Of course, he comes along with his own troops. He lets slip about the big merger to come, and Kogoro uses his detective skills to deduce that Aya-me will soon come. Which Alisa soon detects. Why is he right when it's bad for us...? Anyways, Aya-me comes along with some Kouma friends.
After some mindless banter, the battle resumes. Keep up the general strategy from before, but have your units disperse a little. In other words, let's recall those eastern two groups. Send all but a couple of units from them into the huge group further south, where they can spread out (in the usual pairs) to get rid of the new batch. Multi-Attacks should be flying around, albeit preferably without the use of XP items. Always keep Ichiro & Sakura and Gemini & Erica safe, too - it's all too easy to get cornered and surrounded in this fight in a fatal manner. Either keep them out of the fray in whole, or keep a watchful eye on their HP gauges and be ready to abuse the Quicksave function. (Which idiot's idea was that, again?)
Oh. Wow. We can tell this journey's coming to a close now that some of the villains are dying off, but not without sadness from some of us. Selvaria still makes an escape, though.
So, anyways, after the battle, KOS-MOS detects no more enemies nearby. Suddenly, Zephyr notes something floating in the sky. Something big - the Tower of Tarqaron, a locale from Terca Lumieres, although it was suppose to have lost power long ago. (Big surprise, huh?) The worlds are definitely merging together.
We have to get up there somehow. Back at the Arc de Triomphe, Ichiro begins to fiddle with something and turns it into a large catapult. So, basically, we get shot up to the Tower. Obviously, it's too risky to go as one big group, so they'll split into three teams yet again.